How to Declutter and Organize Your Kitchen
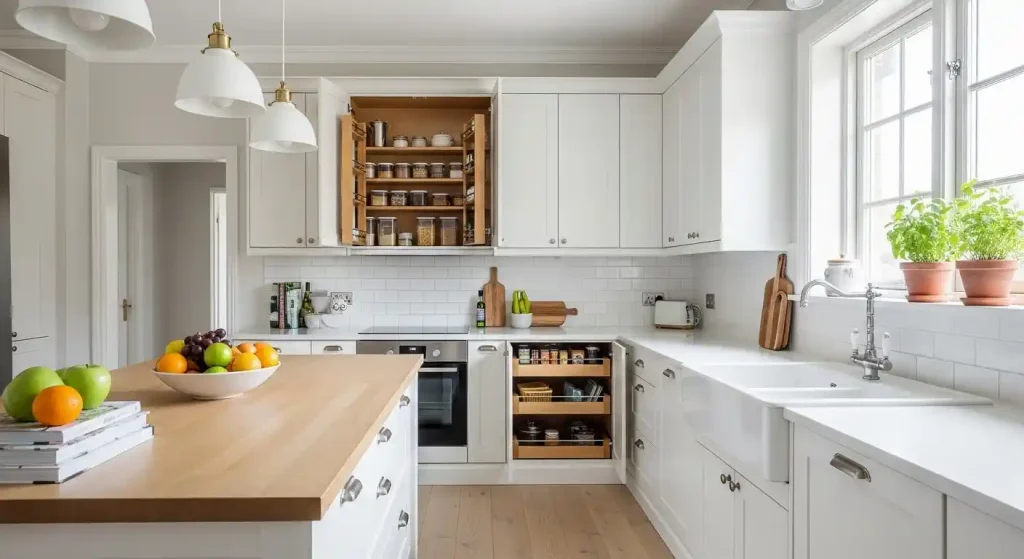
A cluttered kitchen can make even the simplest meal prep feel like a major chore. Between overflowing drawers, crowded countertops, and that mysterious corner cabinet you avoid opening, it’s easy to feel overwhelmed.
But here’s the good news: organizing your kitchen doesn’t have to be a nightmare. With a few clever strategies, some honest decluttering, and a little bit of consistency, you can turn your kitchen into a calm, functional, and inspiring space you’ll love spending time in.
Let’s walk through a simple, realistic approach to decluttering and organizing your kitchen — no extreme minimalism, just balance, beauty, and practicality.
01 | Define Your Kitchen Vision
Before you start pulling everything out of your cabinets, take a moment to think about why you want to organize your kitchen.
Christmas & Year-End Deals On Amazon !
Don’t miss out on the best discounts and top-rated products available right now!
*As an Amazon Associate, I earn from qualifying purchases.
Is it to make cooking easier? To free up counter space? Or maybe to finally find your favorite spatula without digging through three drawers?
Defining your goals helps guide every decision that follows.
If your goal is efficiency, focus on function — placing frequently used items where you can easily reach them.
If your goal is aesthetic harmony, pay attention to color coordination, matching containers, and balanced shelf displays.
And if your goal is a fresh start, be ready to part ways with items that don’t serve you anymore.
Take a photo of your current kitchen. You’ll thank yourself later when you see how far you’ve come.
02 | Rethink How You Use Every Inch
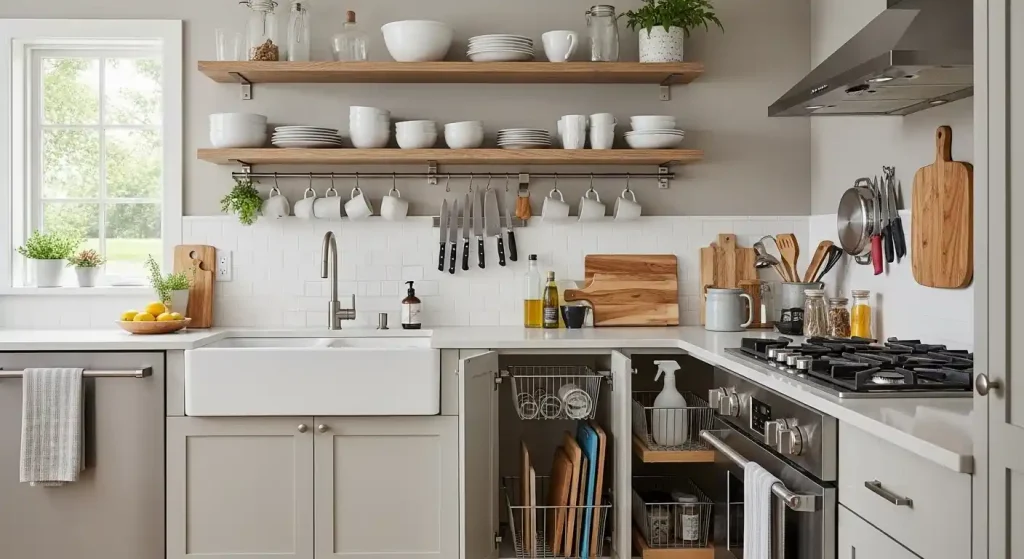
Every kitchen is different — some are cozy and compact, others are wide and open — so your organization system should fit your space and your lifestyle.
Don’t feel limited to the traditional “everything must go in a cabinet” mindset. You can use creative solutions to maximize space:
- Floating shelves for displaying everyday dishes or mugs.
- Magnetic strips for knives or metal utensils.
- Over-the-door racks for cutting boards or cleaning supplies.
- Pull-out baskets in lower cabinets for easy access.
- Hooks under cabinets for hanging cups or utensils.
Think about the flow of your kitchen. Where do you naturally reach when you cook? Store the tools you use most often in those zones.
You’ll not only save time but also make cooking feel more intuitive and enjoyable.
03 | Time to Let Go of the Clutter
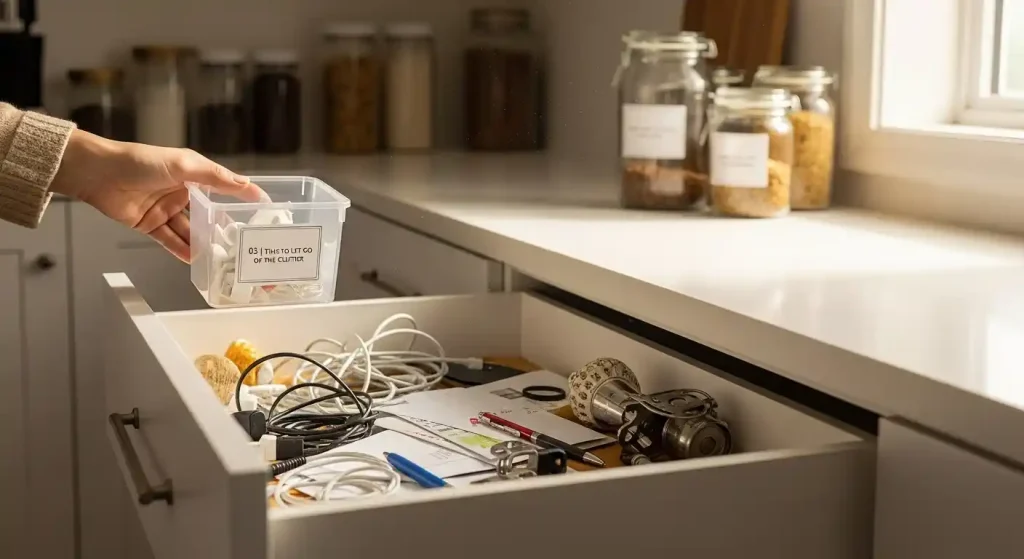
Here’s where the real transformation begins — decluttering.
Start small. Pick one area at a time: maybe a single drawer, a section of the pantry, or under the sink. Trying to tackle everything at once can be overwhelming.
Use the three-box method:
- Keep — items you use and love.
- Donate or sell — items in good condition but rarely used.
- Trash or recycle — broken, expired, or useless items.
Be honest with yourself. That bread maker you used twice? The chipped mugs hiding in the back? Let them go.
Christmas & Year-End Deals On Amazon !
Don’t miss out on the best discounts and top-rated products available right now!
*As an Amazon Associate, I earn from qualifying purchases.
And when in doubt, remember this rule:
“If you haven’t used it in a year, you probably don’t need it.”
Once you’ve decluttered, give everything a good wipe-down. It’s much easier to organize a clean, fresh space.
04 | Streamline Your Drawers for Daily Ease
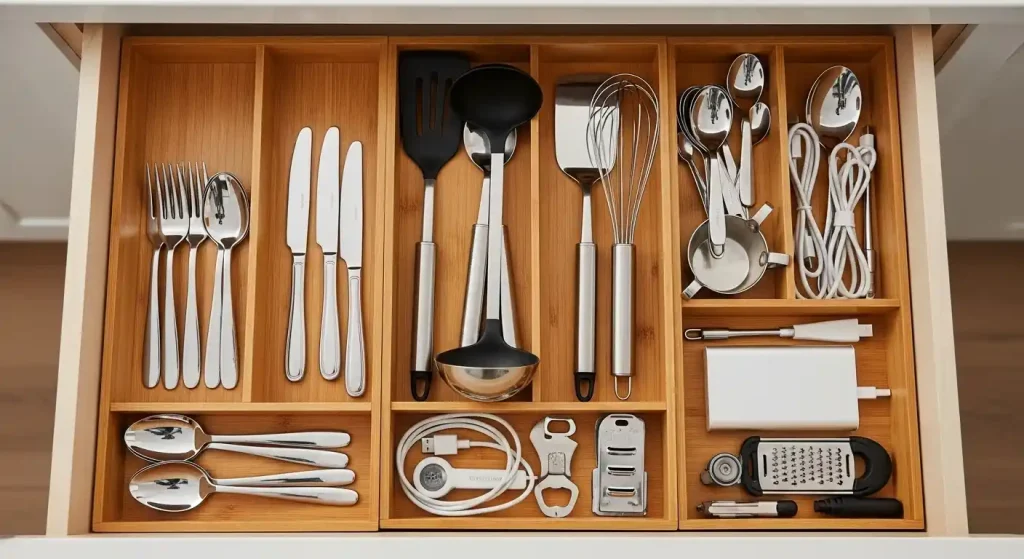
Drawers are often where clutter hides — mismatched utensils, tangled cords, and random kitchen gadgets that seem to multiply overnight.
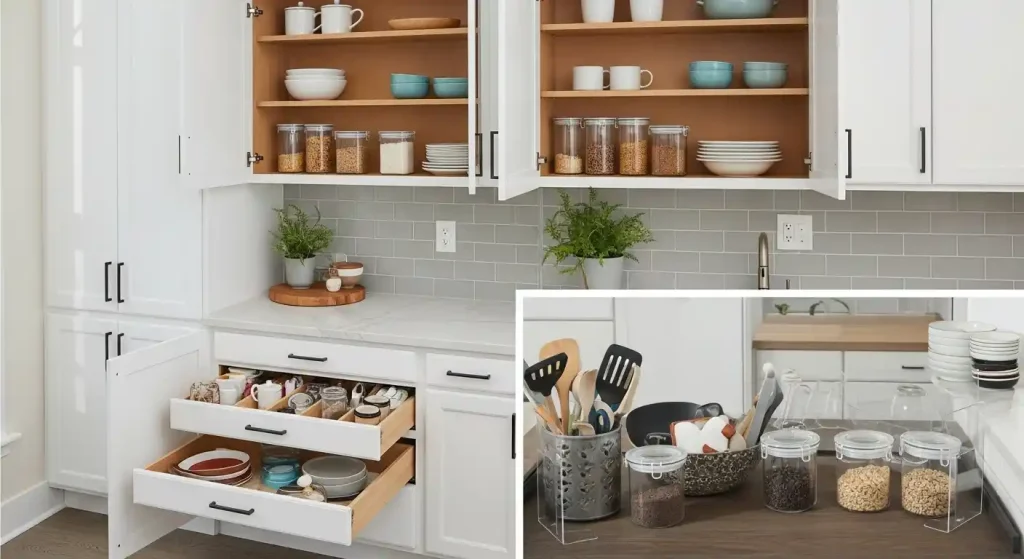
Start by emptying each drawer completely. Group similar items together: cutlery, cooking utensils, baking tools, etc.
Then, invest in drawer organizers or dividers to keep things in their proper places. Acrylic or bamboo trays are both stylish and functional.
Here’s a quick cheat sheet:
- Top drawer: everyday utensils (spoons, forks, knives).
- Second drawer: cooking tools (whisks, spatulas, tongs).
- Third drawer: specialty gadgets or baking accessories.
And don’t forget to label — even if it’s just for yourself. It’ll help maintain order long-term.
Tip: Keep only one of each tool type. You don’t need five spatulas unless you’re running a bakery.
05 | Give Your Cabinets a Smart Makeover
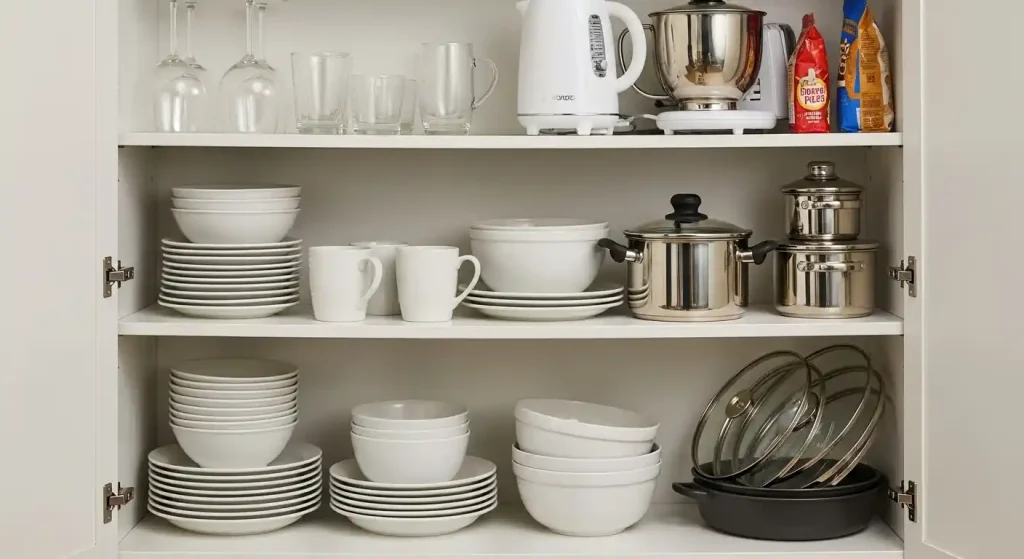
Cupboards can easily become black holes of forgotten appliances and expired snacks.
To start, pull everything out and group similar items: plates, glasses, mugs, mixing bowls, pots, and lids.
Then, store items based on frequency of use. Everyday dishes should live on the lowest shelves, while seasonal platters or rarely used bakeware can go higher.
Christmas & Year-End Deals On Amazon !
Don’t miss out on the best discounts and top-rated products available right now!
*As an Amazon Associate, I earn from qualifying purchases.
If your shelves are deep, consider stackable shelves or risers to double your storage. Lazy Susans also work wonders for making corners more accessible.
Keep sets together — no more separating lids from containers. You’ll thank yourself next time you’re putting away leftovers.
Finally, add a few aesthetic touches: matching bins, clear jars, or wooden baskets can turn ordinary cabinets into something Pinterest-worthy.
06 | Create a Spice & Seasoning Zone That Works
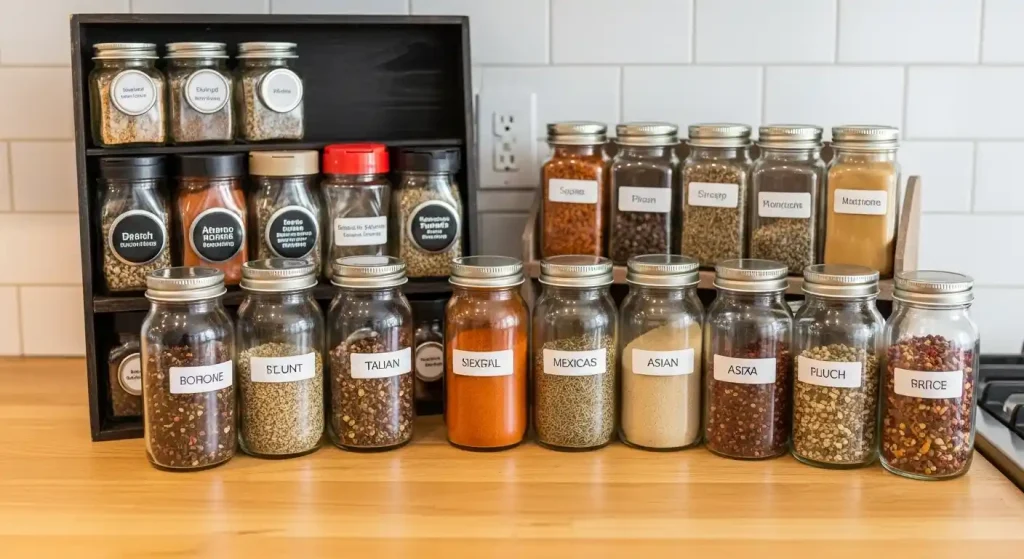
Spices are small but mighty — and can quickly turn chaotic if left unchecked.
Start by checking expiration dates and tossing anything that smells dull or looks clumpy.
Then decide how you’d like to store them:
- Drawer spice inserts keep everything visible.
- Tiered spice racks are great for cabinets.
- Magnetic jars save counter or cabinet space.
Whichever method you choose, alphabetize or group by cuisine — Italian, Mexican, Asian, etc. It’ll make cooking so much smoother.
Bonus tip: Use matching jars with clear labels. It not only looks beautiful but also keeps your spices fresh and easy to find.
07 | Turn Your Pantry into a Styled Storage Haven
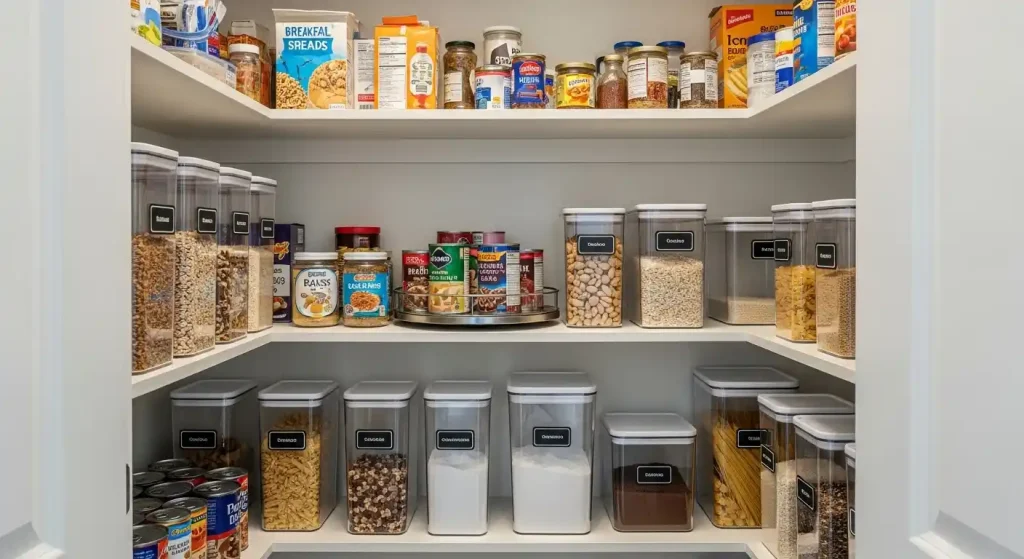
Ah, the pantry — the heart of chaos and mystery in most kitchens.
Start by emptying everything. Wipe down shelves and toss expired items (you’ll probably find something from 2022 in there).
Now comes the fun part: grouping.
- Breakfast foods (cereal, oats, spreads).
- Snacks (chips, nuts, bars).
- Baking supplies (flour, sugar, cocoa).
- Canned goods (soups, beans, sauces).
- Dry goods (rice, pasta, grains).
Use clear containers for loose items and label everything — trust me, it makes restocking so much easier.
Christmas & Year-End Deals On Amazon !
Don’t miss out on the best discounts and top-rated products available right now!
*As an Amazon Associate, I earn from qualifying purchases.
Place everyday essentials at eye level, and bulk or rarely used items higher up.
If space allows, add lazy Susans, stackable bins, or over-the-door storage for extra convenience.
08 | Refresh Your Fridge and Freezer Organization
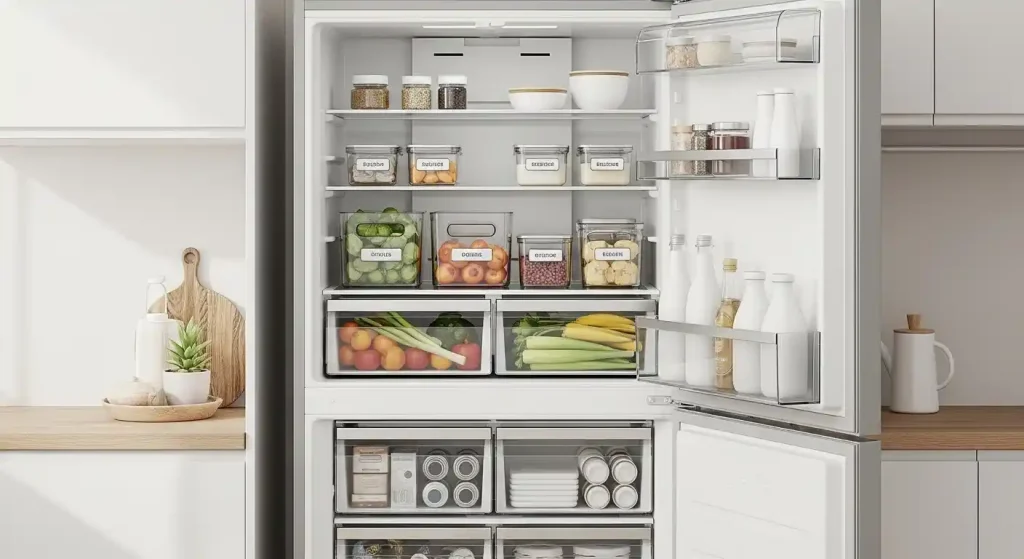
Your fridge deserves a little love, too.
Start by taking everything out (yes, everything) and wiping down the shelves. Toss expired sauces, mystery containers, and that half-open yogurt from who-knows-when.
Then organize by zones:
- Top shelf: leftovers, ready-to-eat items.
- Middle shelves: dairy and beverages.
- Lower drawers: fruits and vegetables.
- Door shelves: condiments, dressings, butter.
In the freezer, group items into categories — frozen veggies, meats, desserts, etc. Use bins to prevent things from falling into the abyss.
Tip: Label leftovers with dates so nothing gets forgotten. And keep one “Eat Me First” section for things that need to be used up soon.
09 | Clear and Style Your Counter Space
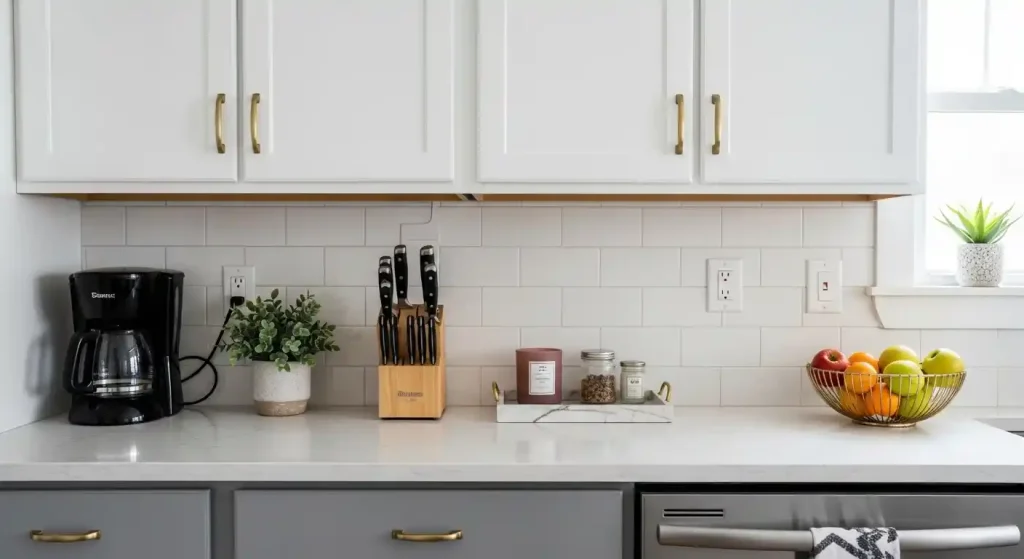
Your countertops should be functional, not storage zones.
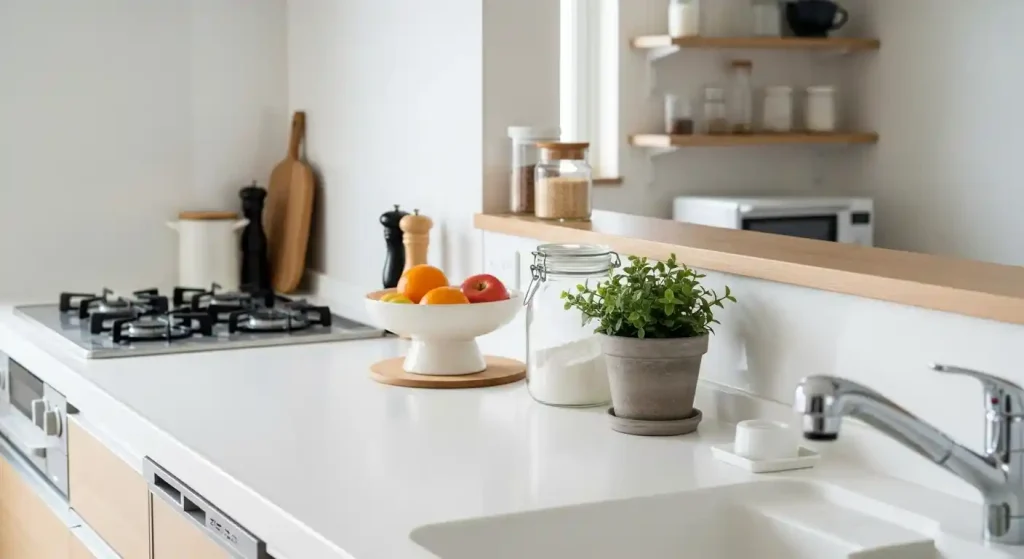
Keep only the essentials — maybe a coffee maker, knife block, and fruit bowl. The rest can be tucked away in cabinets or drawers.
When everything has a home, your counters instantly feel bigger and cleaner.
Add a touch of style with a small plant, a pretty tray, or a candle. These details make your kitchen feel intentional without adding clutter.
And don’t forget: clear counters = clear mind.
Christmas & Year-End Deals On Amazon !
Don’t miss out on the best discounts and top-rated products available right now!
*As an Amazon Associate, I earn from qualifying purchases.
10 | Keep It Tidy with Simple Daily Habits
Now that your kitchen is decluttered and beautifully organized, the key is keeping it that way.
Here’s a simple routine:
- Daily: Wipe counters, put items back in their places, run the dishwasher.
- Weekly: Check fridge for expired items, sweep floors, and wipe cabinet fronts.
- Monthly: Revisit one drawer or shelf and do a mini declutter.
- Seasonally: Review your pantry and deep clean behind appliances.
A few minutes a day keeps clutter away — seriously.
If you slip back into chaos (it happens to everyone), don’t stress. Just pick one area and start again. Organization isn’t a one-time project; it’s a lifestyle.
Final Thoughts
A decluttered kitchen doesn’t just look good — it feels good.
It gives you space to cook, breathe, and actually enjoy the heart of your home.
Remember, progress matters more than perfection. Whether you spend ten minutes clearing a drawer or a full weekend overhauling your pantry, every small step makes a difference.
So, light a candle, put on your favorite playlist, and start fresh.
Because the best kitchens aren’t the most expensive — they’re the ones that work beautifully for you.
FAQs
Q: How often should I declutter my kitchen?Ideally, do a light declutter every month and a deeper one every season. It keeps things manageable.
Q: What should I do with items I don’t use but feel guilty throwing away?Donate them! Someone else may need that extra blender or unused dish set.
Q: How do I motivate myself to start?Start with one drawer. Momentum builds quickly once you see progress.


